Even if your company (or home) doesn’t officially support Apple devices, it’s likely that there are dozens of BYOD Apple devices (BYOAD?) on the network. When a new OS update or patch is released, all those devices clamor for bandwidth which can have a big impact on your Internet connection.
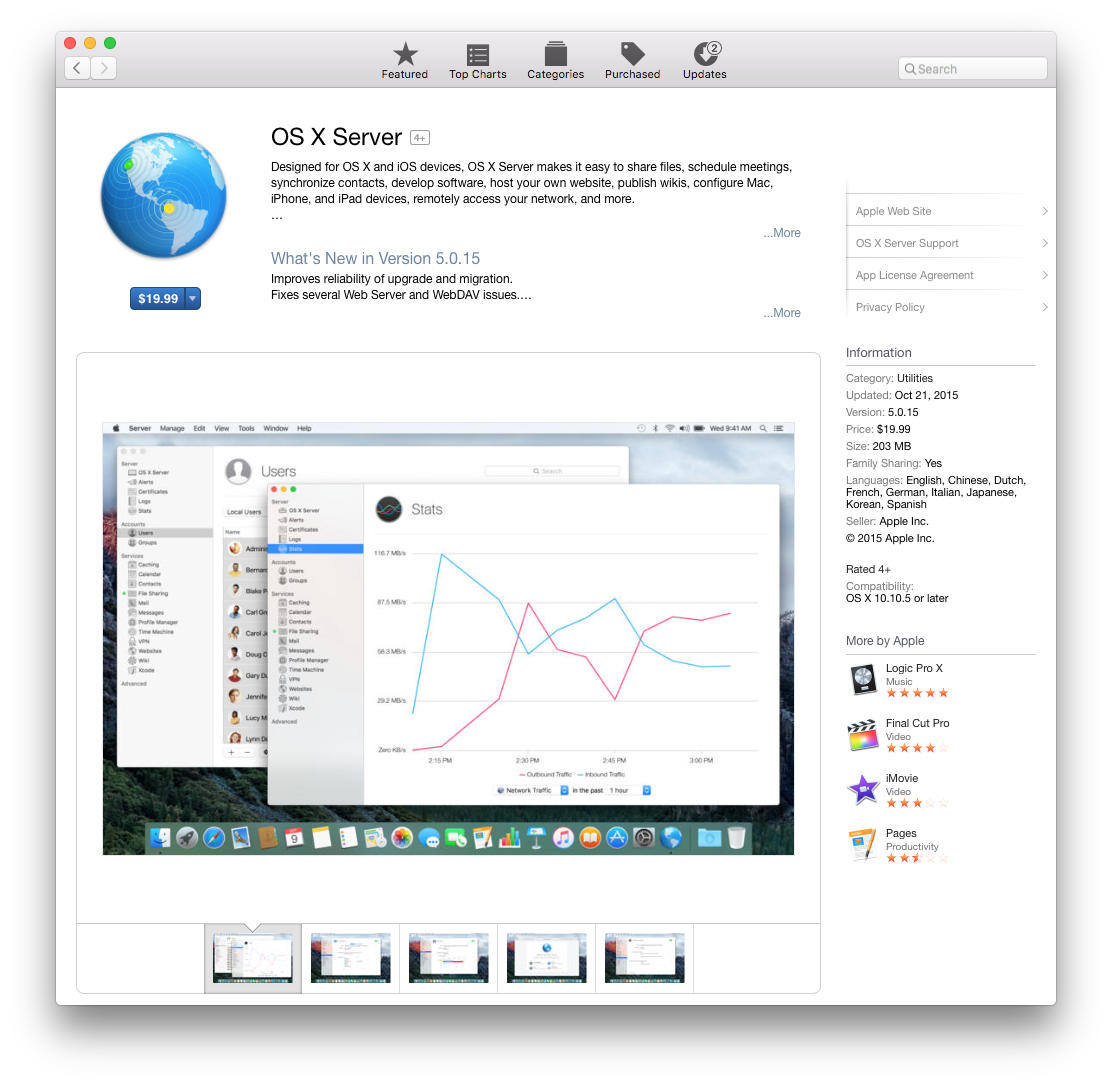
Apple has released a fantastic tool that seamlessly supports all Apple devices on a network, even if they are totally unmanaged BYOD iPhones, MacBooks or iMacs: Enter the OS X Server app available for $19.99 from the App Store!
This is also a great tool in areas where bandwidth is metered or limited – updates or apps are downloaded and cached the first time they are requested and then all future devices that attempt to install that same update or app from the App Store will receive a copy from your local caching server.
See the video below demonstrating the massive speed increase downloading a 6GB Mac OS X upgrade from a caching server in under 1 minute!
How to set up caching in the OS X Server app
- Install the OS X Server app on a Mac that is likely to be powered on 24×7.
- Open the app and select local computer.
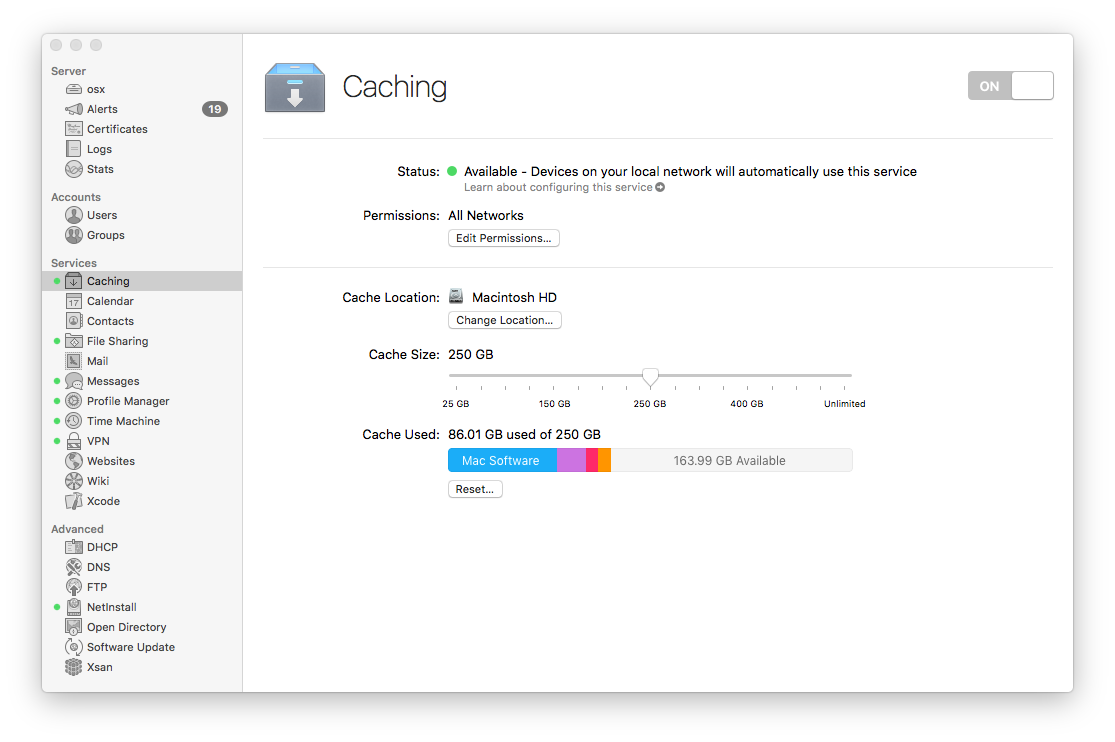
- Scroll down to the Services menu and click on enable Caching.
- Toggle the service to ON.
- Set Cache Size to a number that makes sense given available disk space. 80GB – 100GB is recommended.
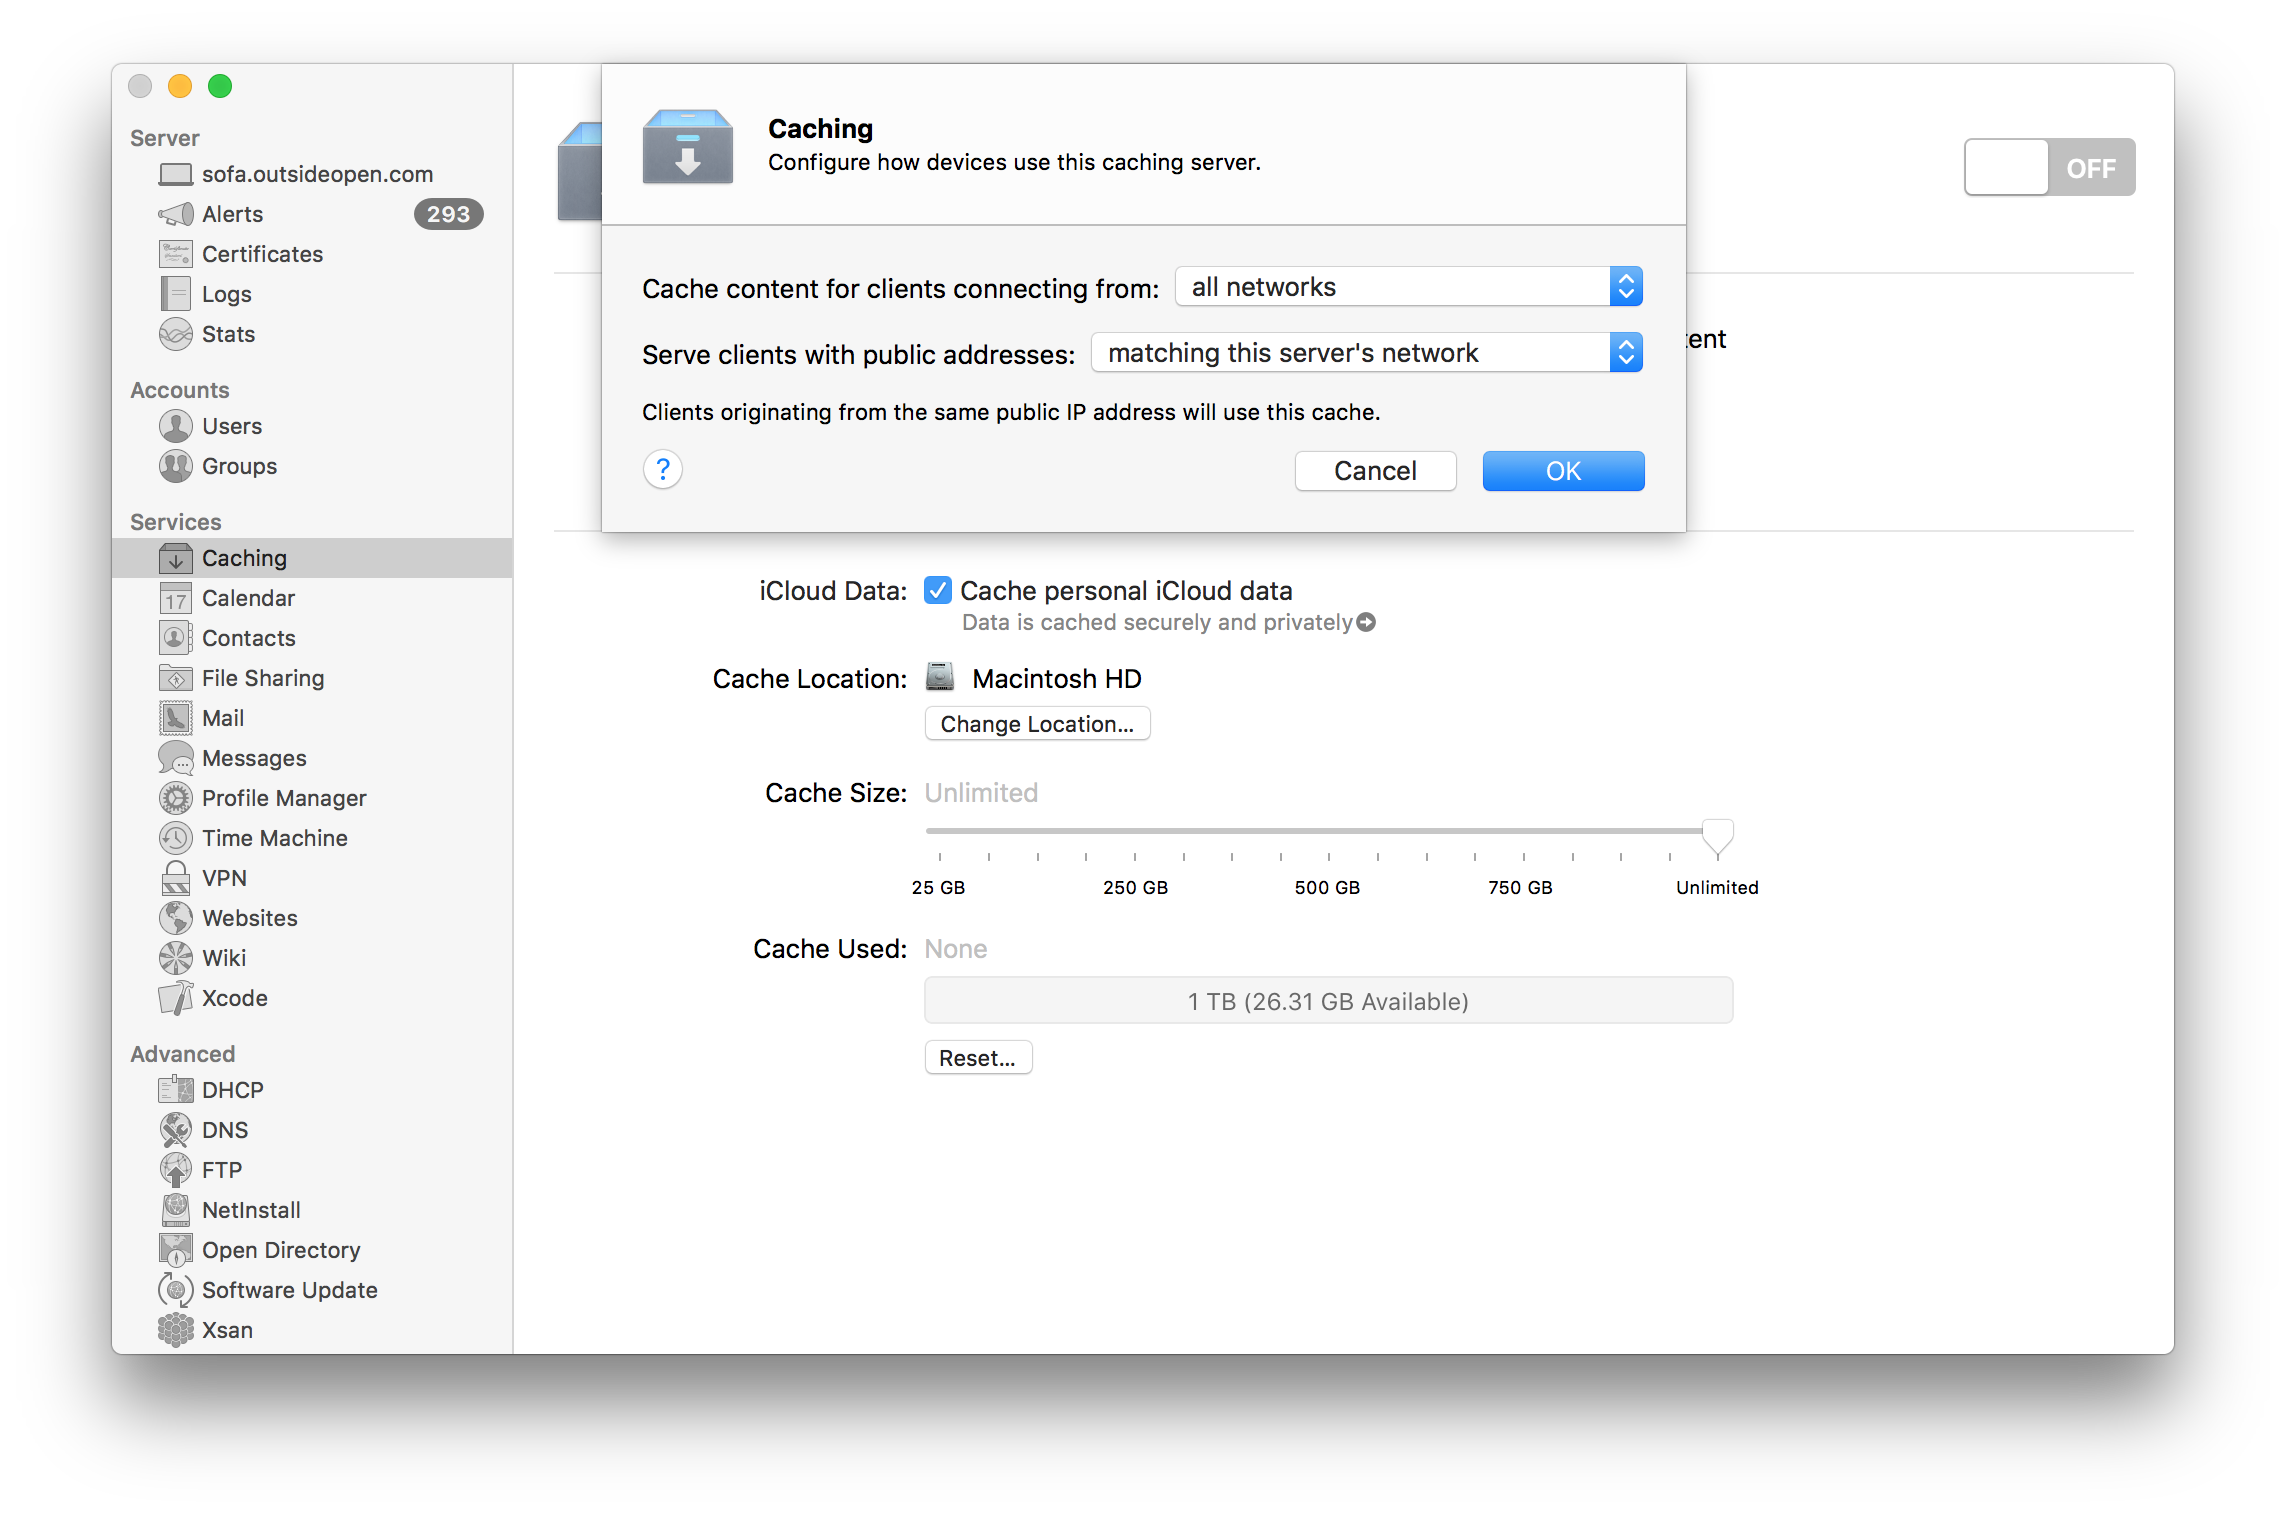
- Permissions (this is really powerful)
- For most simple networks the default of “only local subnets” and “matching this server’s network” are perfect.
- If you use VLANs with a single outbound NAT IP, select “all networks” and “matching this server’s network”.
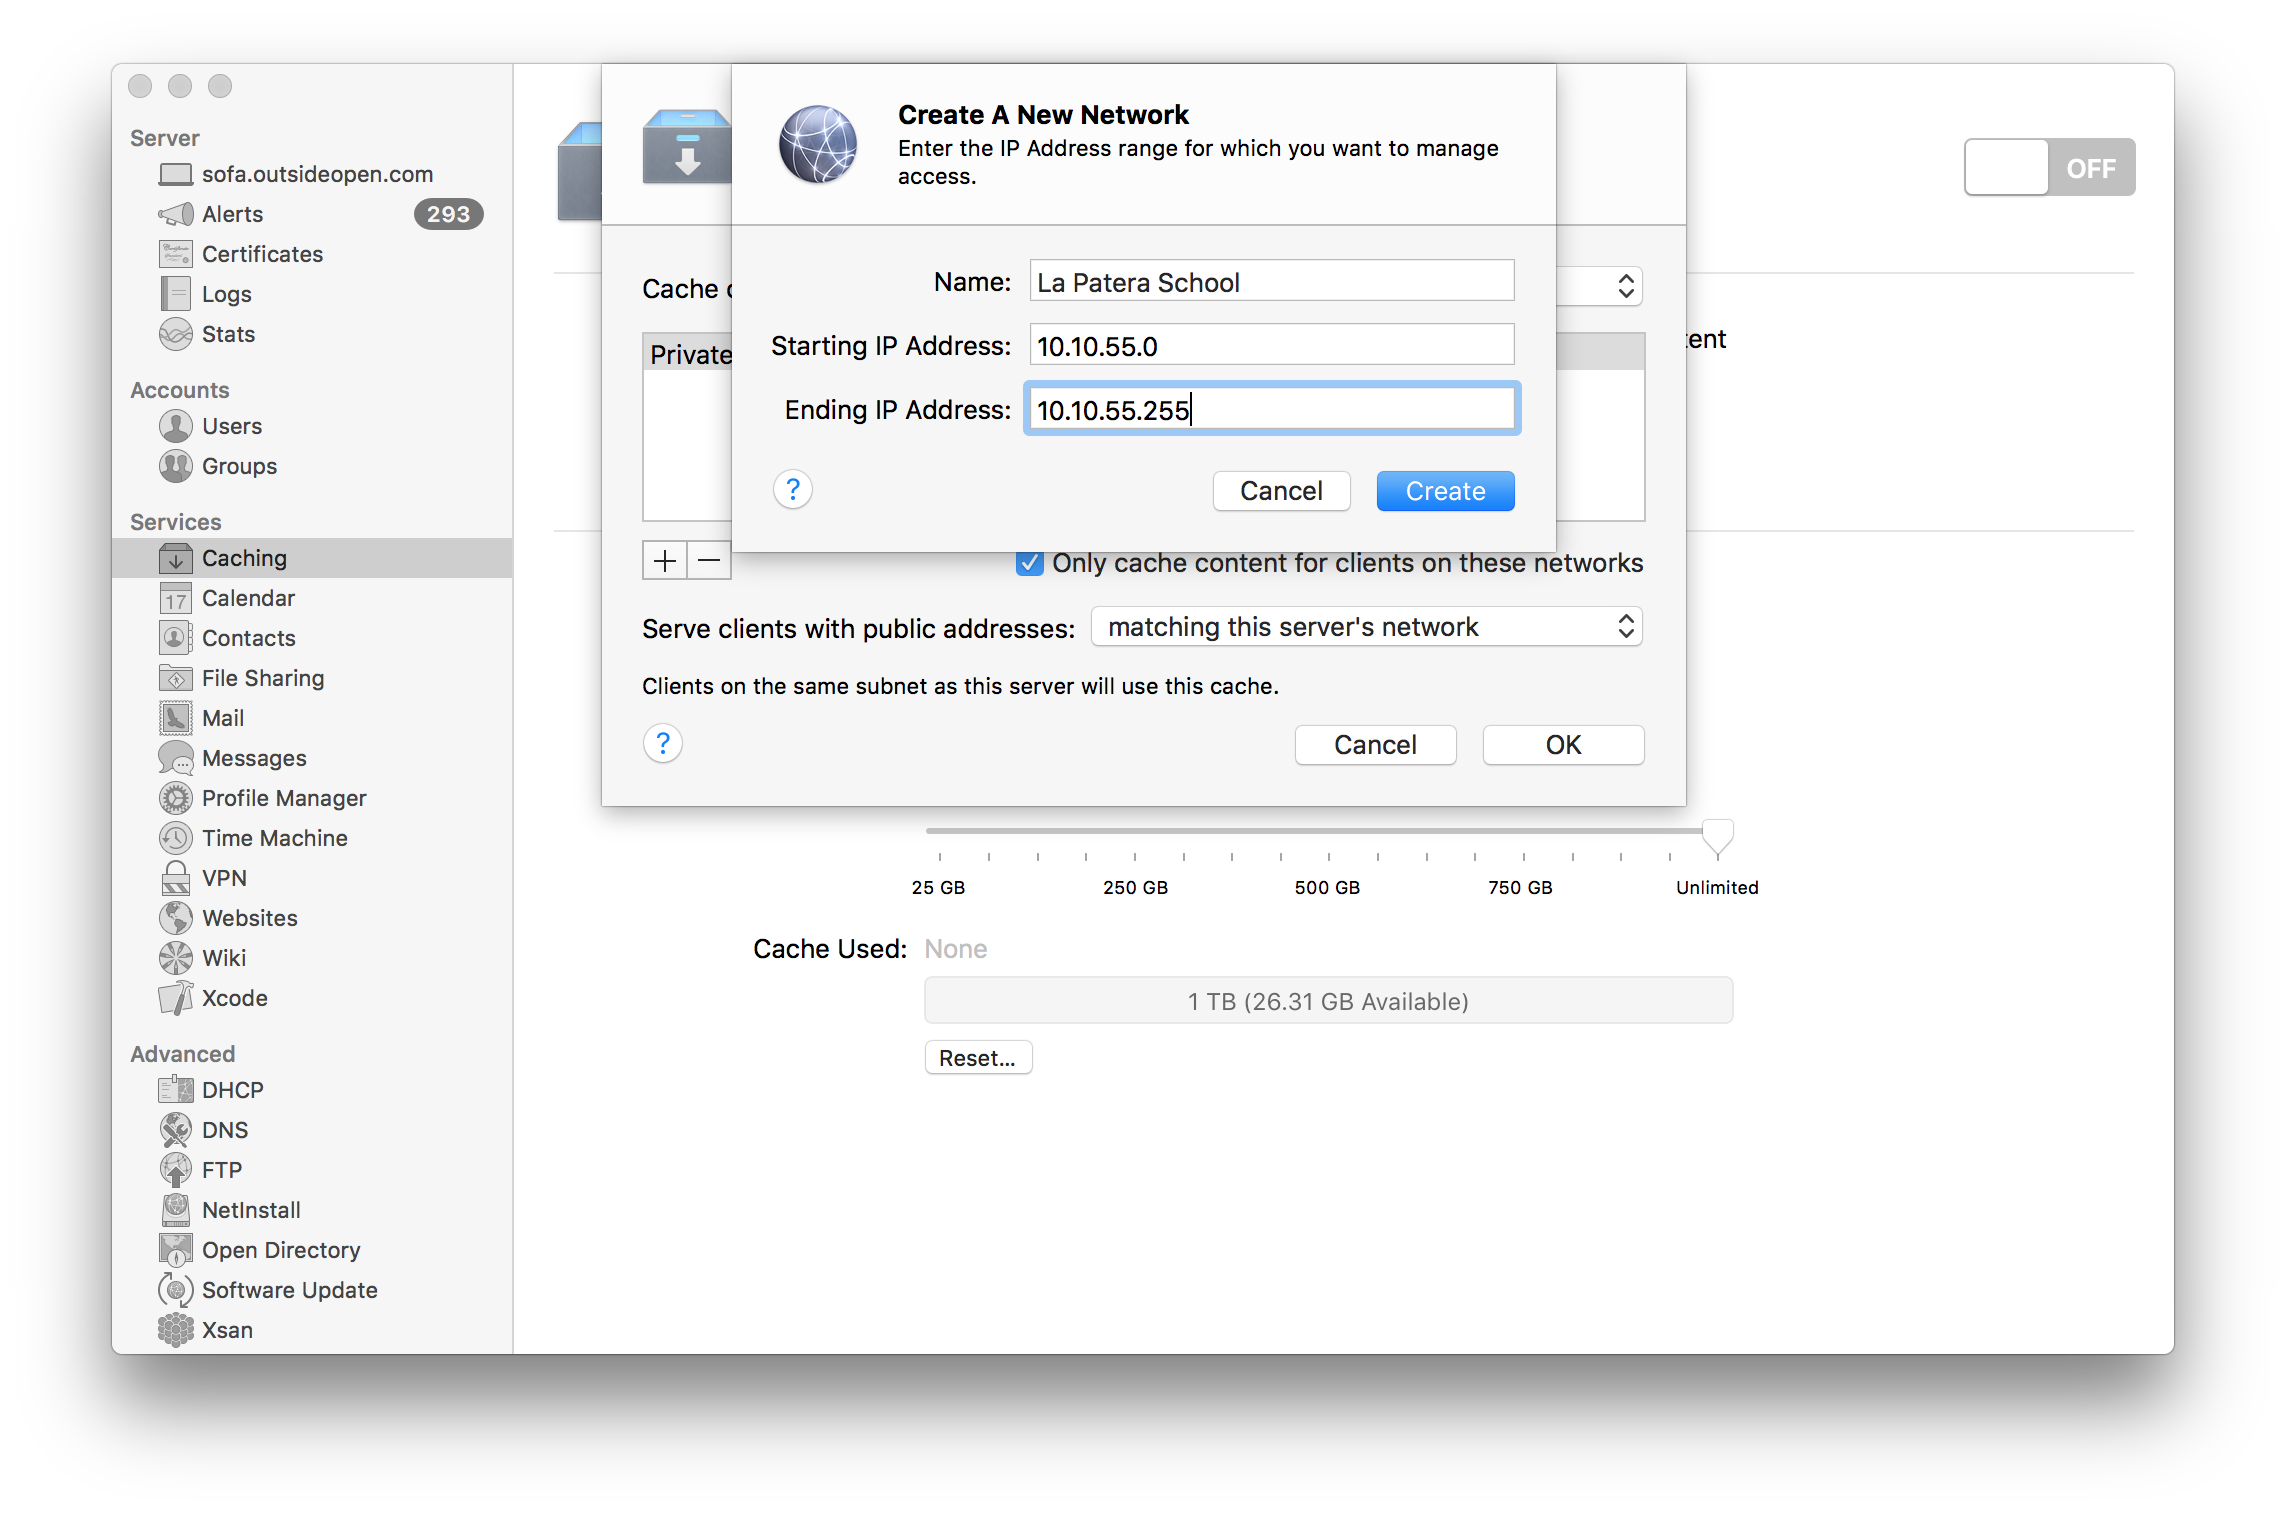
- If you share an Internet connection, for example a school may share Internet with the entire district, then select “only some networks” and add a network with your IP range.
- Note that in multiple VLAN scenarios, all your clients on the various VLANs need to have access to the caching server.
The beauty of this utility is that you can just set it and forget it – Apple does all the cool fancy stuff in the background.